Create a new virtual machine
Guides> linux > Create a new virtual machine
Getting Started
(The following instructions were written using VirtualBox 6.0.0 (Screenshots are from VirtualBox 6.0.18 r136238 on a Mac). They will probably work on other versions, though there may be slight differences.)
Download VirtualBox from the vendor website and install it.
Run VirtualBox.
Click "New".
Name and operating system
Give it a name. (Doesn't matter, but might be helpful to pick something that indicates your intended use so you can easily identify it later.)
For Type, select "Linux".
For Version, select "Arch Linux (64-bit)". (If you don't see any options that say "64-bit" and only see "32-bit", come talk to me.)
Click Next.
Memory size
The slider bar represents all of the memory installed in the host machine. Slide the pointer thingy to allocate memory to the virtual (guest) machine. More is better, but you don't want to allocate so much to the virtual machine that you deprive your host operating system of resources. I would recommend at least 512 MB and no more than half the available. If you intend to use Atom as your text editor, I would suggest no less than 2 GB. In any event, a power of 2 is best.
Click Next when you've set it.
Hard disk
Two options:
1. If you're going to install Linux yourself... [You downloaded the .iso]
- Make sure "Create a virtual hard disk now" is selected (it's usually the default) and click Create.
- Choose "VDI (VirtualBox Disk Image)" as the hard disk file type and click 'Next'.
- Choose "Dynamically allocated" and click Next.
- The filename in which the virtual disk image will be saved defaults to the name
- you gave the virtual machine itself in the first step. I wouldn't
- change it (I don't see much point to doing so and it could very easily
- lead to confusion later on). Click on the folder with the green triangle
- to select a place on your *host* hard drive to save the *guest* image.
- Use the slider to select the size of the image; 16 GB is probably enough
- and I would *not* go less than 8 GB. Click Create.
2. If you're using a virtual-machine image in which Linux has already been installed for you... [You downloaded the Premade.vdi]
- Select "Use an existing virtual hard disk file", click the folder with the
- little green triangle next to it, navigate to the virtual disk image you
- downloaded, select it, and click Open. (On some later version it might require the additional step to click on the *add* icon before you can navigate to the virtual disk image).
- Click Next when you're done with this step.
Optional Configuration
Only execute the following instructions if you are having issues resizing the windows. If not, you are good to go!
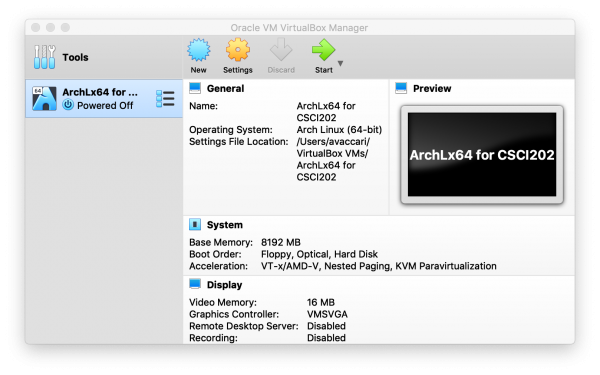
On the left-hand side of the VirtualBox windows, you'll see a list of all the virtual machines you've created (possibly only one at this point). Click it. Click the "Settings" button. Select the "Display" tab. On the right, find the "Graphics Controller" setting and make sure it's set to "VboxVGA". (If, once you've installed Linux and gotten the graphical environment working, it doesn't correctly resize itself when you change the size of the VirtualBox window, this is the setting you need to go back and check.)
Congratulations
You're done! (With the first part...)
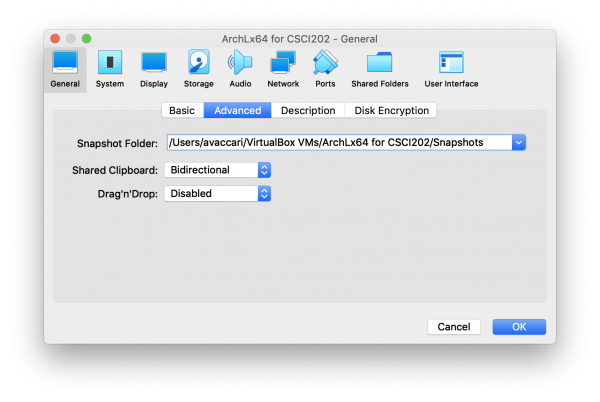
One thing that might make your life easier is to enable cut-and-paste between host and guest: in the VirtualBox interface, go to Settings, General, Advanced, and set "Shared Clipboard" to "bidirectional".
If you're going to install Linux yourself, go to the instructions Install Linux in a virtual machine.
If you're using a preinstalled image, proceed to your first boot.


